


 Reply With Quote
But seriously, good write up and sweet end result.
Thanks!


I did this on the old forum, but I thought I should repost it if anyone is thinking about doing it. This is just how I did it........I did it over one night and morning....about 6 hours all up.
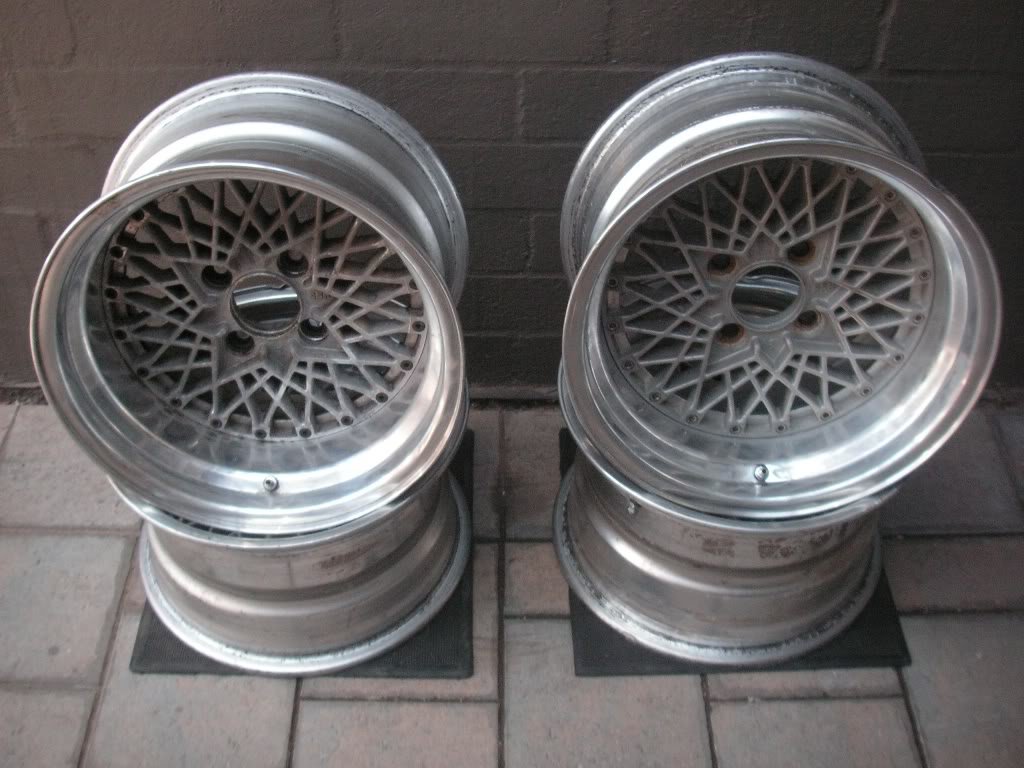
Alright I started with 2 pairs of SSR reverse mesh, 7.5's +2 and 8's -11, the pos set were silver and the other set were black.
1. Doing one rim at a time, I began with taking the rims apart. The bolts are rather tight, so one by one I shocked the bolts with a hammer and a nail punch, which loosens up the bolts making them easy to undo.
2. Once All bolts are removed, the centres will we quite stiff still in the rim, and I found the best way to get them out was to hit around the edges with a mallet in a circular motion which will gradually knock the centre out. Also if you have tyres on the wheel, let all the air out as that puts a little bit more strain on the rim. (I marked the rim with the centre, so I didnt put a different centre on another rim)
3. Now all the centres are out, its the best opportunity to clean the rim without scuffing your knuckles on the mesh. I started with degreasing the inside of the rim where most of the dirt/brake dust builds up. On the outside (dish) mine where in good condition, but I have heard one of the best ways to get the gloss shine back is to sand back with light sandpaper (1000 grit) then work your way up to 2000 grit, this will remove all the stratches etc.
Now with buffing I used a buffing wheel on a drill with some mothers metal polish....I know there is another really good brand out there, someone will know, yellow can?
4. Now dealing with the centres there is a lot of different steps. because I already had a good hard acrylic paint on the mesh already I just had to repaint the centres. I have asked Karl (kid korola) who has done this in depth and could enlighten us. This is my plan when I plan to paint mine in the short future.
-Sandblast the centres to get all of the old paint/grime off the centres, give you a good base to start with. I know there is also bead blasting? This seems to be a more gentle approach which protects the centre.
-A good metal etch primer. This protects the bare metal, and should be done as soon as possible after sand/bead blasting. protects it from erosion and damage to the metal. 2 coats to be safe.
-There are several ways to paint.....if you have gone this far, may as well powdercoat as it is one of the strongest coats you can do. I know dave (ae86) went down this path with his black mesh which had a awesome result. I just used a acrylic spray paint over the existing paint, as I was impatient and just wanted the wheels on my car.
5. Finally once everything was dry I began to put them back together. If you have shitty offset rims you can do the dodgy and flip them, I dont sugest it but it has been done before. I found the best way to do it was gently place the centre in, and began placing the bolts back in 1 by 1 in a circular motion, which eventually pulls the centre back into place. I also brought new bolts and nuts, all together they were just over $100.
This was the end result.
Now after I got all the mega bitches with my hectic rims, I did get them rebalanced a couple of days after I put the wheels on just to be safe. For me, not the bitches....because well they're bitches.
If anyone has anymore suggestions on what could also be done, any better ways....let me know.
Cheers
Last edited by haydenz; 12th September 2009 at 02:56 AM.
But seriously, good write up and sweet end result.
Thanks!

turned out sik bro
good write up


Yeah with stripping the centers I got mine dipped in a solvent bath () to strip the paint off. Media blasting is ok if they aren't too aggressive (sand or bead blasting can initiate pitting and lead to cracks in the casting). Etch priming them as soon as possible after stripping stops the alloy from oxidising (which doesn't take long at all!) and gives a base for the paint to adhere to.
I have used powder-coat on one set of wheels and 2-pack on another set. For solid colours and even silver I'd recommend powder-coat as it's tougher and more resilient to heat and grit. For other metallic colours like gold, 2-pack yields a better colour than the yellowish or more mustardy "gold" offered in powder-coat that aren't as metallic in finish.
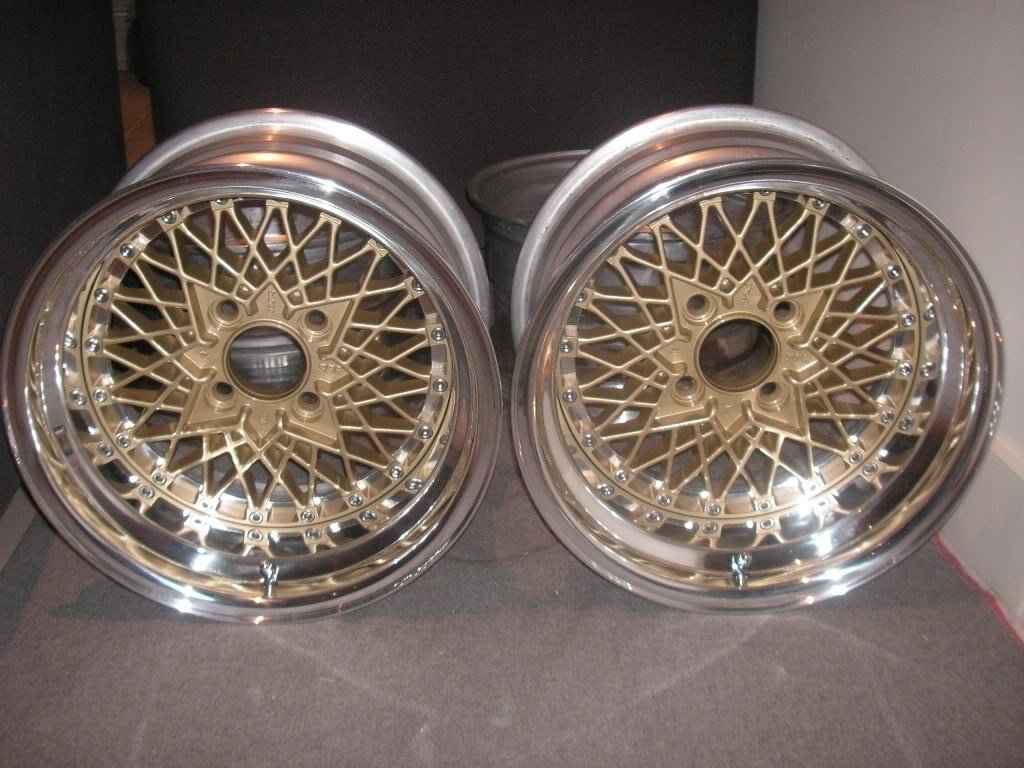
Heres a brief series of my mesh being refinished:
Rims polished
Centers stripped
Fresh 2-pack Gold
New stainless bolts and valves etc.
Restored to their former glory
With the bolts I replaced all the bolts and nuts with high tensile stainless, used Loctite thread lock and torqued them all evenly.
As a guide :
- 1/4" bolts @ 15ft-lbs. = M6 bolts @ 20Nm
- 5/16" bolts @ 20ft-lbs. = M8 bolts @ 27Nm
(some other styles use more or less bolts of different diameter hence torque may vary)
Last edited by Kid Karola; 13th September 2009 at 07:12 AM.
RokuSteady : Shakotan - Tsuraichi - Hippari - Onikyan : 神奈川 様式

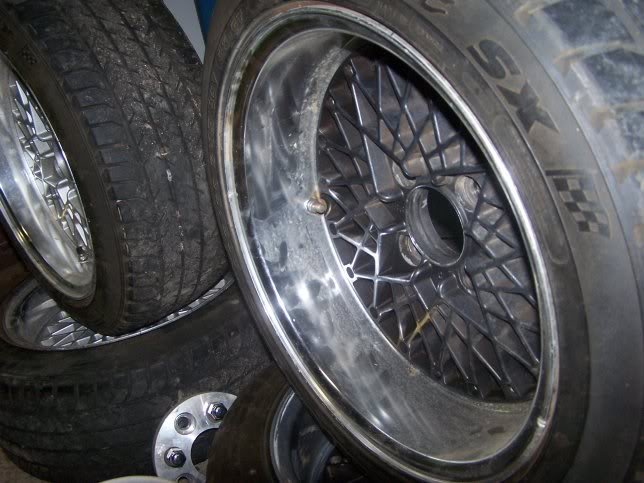
here some i did ages ago
acid dipped, then bead blasted. acid diping isnt too great, but bead blasting had them mint. all i did was put a clear coat over them afterwoulds. looked mint
This suggests something else that I should have mentioned earlier: when tightening bolts, do it in a crosswise sequence,
i.e. first 12 o'clock then 6, then 3, then 9 and so on all the way around... This ensures that the center is pulled in and seated evenly.
Another point of note: first pre-torque the bolts to 1/2-2/3 of the final torque, as there is always some relaxation in the bolted connection.
"First the bolts should be tightened lightly and the wheel centres should be centred exactly.
Then the bolts/nuts have to be tightened crosswise up to 10Nm (7.4lb-ft) and finally to 15-16Nm (11-12lb-ft).*
...
Note: Use new sealing rings and new rim bolt sets everytime the wheels are reassembled."
*I'm not exactly sure what size or how many bolts this torque relates to as E30 style have 16 bolts, and E50 have 20 bolts.
Last edited by Kid Karola; 10th November 2009 at 02:02 AM.
RokuSteady : Shakotan - Tsuraichi - Hippari - Onikyan : 神奈川 様式

Are you guys splitting the halves when you do that or just leaving them together.

i think i'ma have to get meshies now
SSR's and most other Jap rims the 2 outer rim halves are welded together. This is mainly done to seal them 100%. If you really needed to split them they'de need to be machined apart.
Simmons on the other hand are sealed with a special glue that forms a gasket. The BBS's mentioned above use a O-ring type of thing between the 2 halves.
RokuSteady : Shakotan - Tsuraichi - Hippari - Onikyan : 神奈川 様式
Yeah, thats what i thought. Simmons used to produce their own goop, but with them gone there isnt much info on what to use. It looks like the Simmons i have i can separate out the center without disturbing the rim itself, but i would want to check that first.
 Posting Permissions


 -
-