


 Reply With Quote
what lip is that?


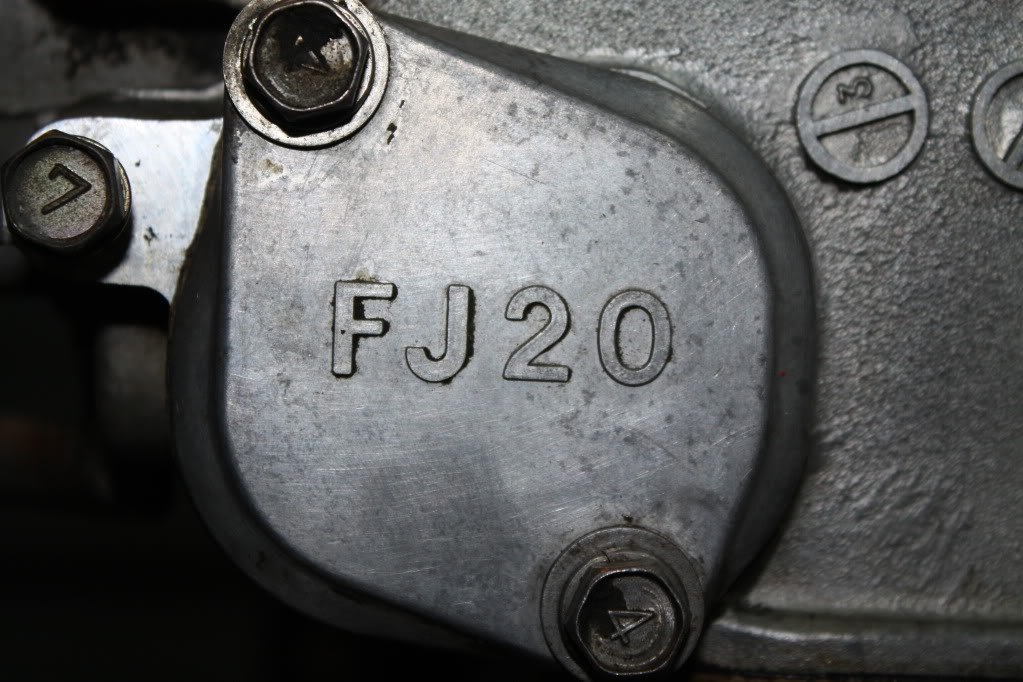
more updates, stripped the fj down and since i've been scrubbing away like crazy to clean this motor.
products that were needed:
petrol
degreaser
brake cleaner
paint stripper
turps
soap and water
tools needed:
tooth brush
3 types of wire bruses
paint scraper
wire wheel
its taken me ages to clean the crank case the head and the block. haven't cleaned the rocker cover at all coz that'll be repainted in red crinkle paint.
the layers were tar, paint, oil, dirt, more tar, more paint. how weird is the burnt orange colour? was probably in a whacked out bozo car.
sr clutch fan fits perfectlyonly fj part i was missing.
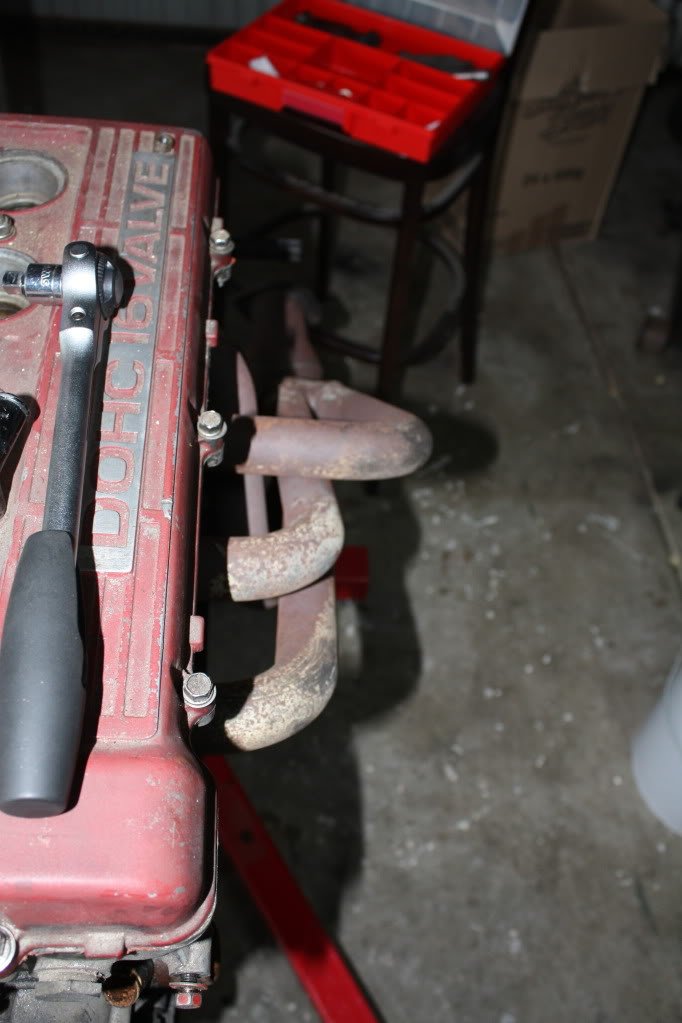
much better
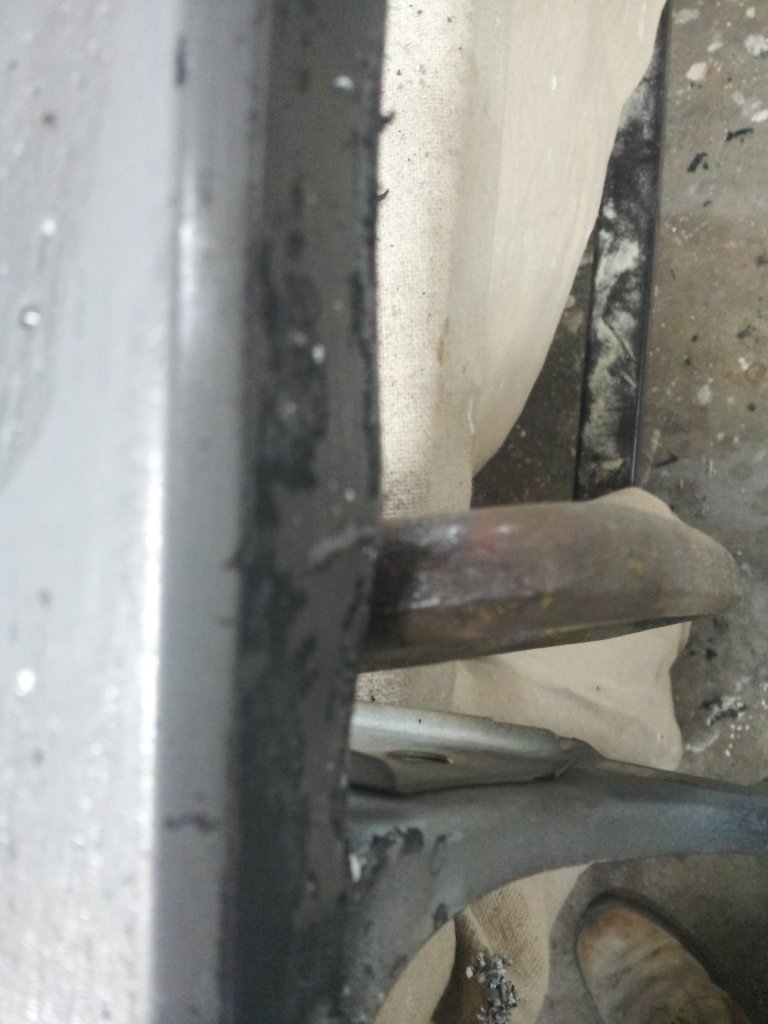
test fitted the fj20e headers i picked up. they fit perfectly. measured them up and they'll clear the firewall in the spot on position.
spare fj chillaxing under the bench
enjoy

what lip is that?
its a 1987 s12 200sx se lip from the states
[quote name='s12_silvia' timestamp='1341750969' post='80713']
so this weekend i began the task of reconditioning all my wheels. both my hoshino's and my southern ways are in pretty bad shape including a few bent areas some fairly nasty gutter rash and pitting.
so the first task was to trim some of the gutter rash back and clean the contaminants off the rims. next was the alloy filling. now i done have a tig and i was looking for other ways of repairing them. to get them done professionally i was looking at at least $150+ per wheel and at min $1200 for the 2 sets it was far too expensive. so i came across a product online by a company called laser. its called 4707 aluminium repair system. costs about $50 for the kit and all you need is a butain torch as the melting temperature of the brazing rods is 500deg c lover than aluminium. i started with my normal butain torch and that worked but it was rediculously slow to get the wheels up to temp so i lashed out and bought a map gas burner. about $130 from bunnings. its butain mixed with acetylene so it burns soooo much hotter! and this thing worked AWESOME! got the wheels up to temp in no time and laying down the braze was easy as just run a tinning layer on then just build up the material till the rash or missing chunk is filled. let cool then file, shape, machine, sand and polish.
enough with the bs stories i'll let the pictures do the talking
some of the damage
the 4707 aluminium repair system
the map gas torch. the onei got came with a 1.5 meter hose so it so much easier to use than holding the whole bottle all the time.
the braze/repair
i managed to repair 2 full sets of wheels in about 1.5 hours and didn't even finish a whole rod. i filled about 12-13 gashes. this stuff is so versitile for diy use i'll post the instructional vid to show how awesome it is.
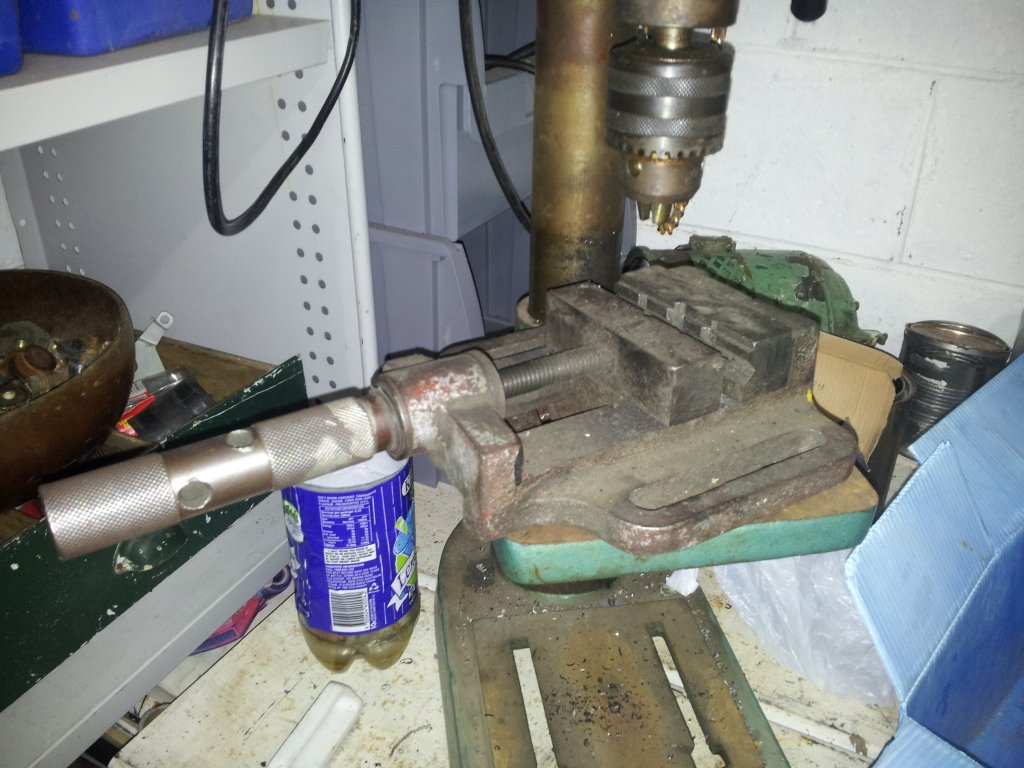
then i knocked up this little bad boy to take off some of the excess alloy before using the same technique to file and sand each wheel. they still need alot of work but im getting there. i've improved it further by bolting it to the floor rather than the jack


Epic jack lathe you've got there! Some good ingenuity in this thread!
You wouldn't happen to be a fitter and turner would you? You have lots of skillz haha
im actually an electrician by trade but i just love playing with all this type of stuff
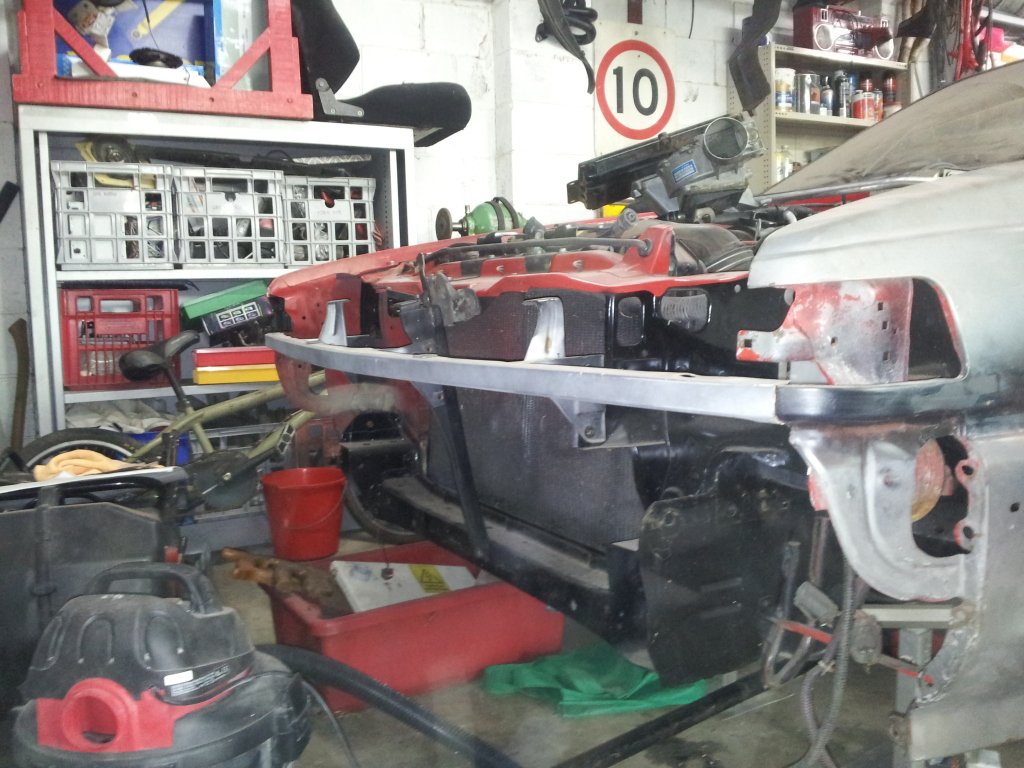
so the work continues. lately i've been doing more work on khaled's rs-x then my car but im still getting through the body work.
here's what i've been up to
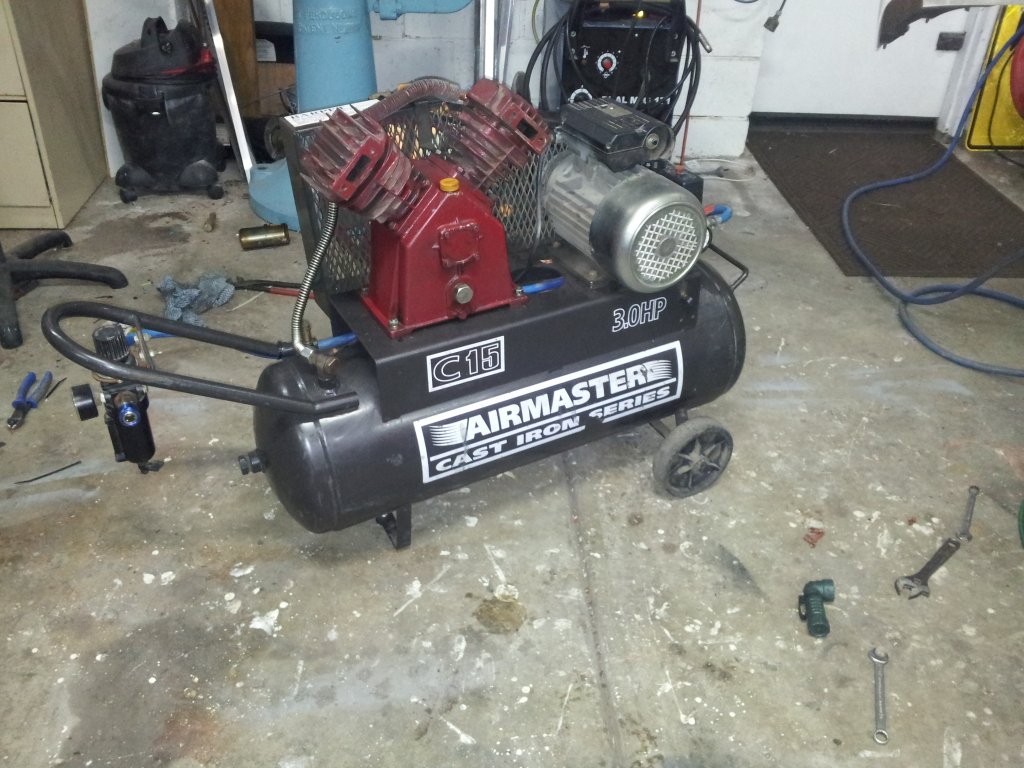
i have been on the search for an air compressor for sanding and spraying purposes for about 6 or so months now and finally picked up a 3hp 100ltr 20cfm beast. down side was it was 3phase and the pump was fairly shot. with the sale came a single phase 3hp motor so i converted it to single phase with a new pulley and motor then dismantled and rebuilt the pump and repaired the pressure switch.
so with that i could finally run my 5" air sander sander
sanded the mkII bumper down and began paint prep.
about a week later i went to a closing down sale of an engineering factory and picked up a heap of awesome stuff for really cheap. bout another compressor for $100 its a single phase 3hp 15cfm twin pump 50ltr. th bloke said it wan't working very well and didn't turn off due to a faulty pressure switch.
got it home cleaned it up adjusted the pressure switch and replaced a gasket in the pump and it was running like a dream! $500 saving on that one
the same day i also scored a drill press clamp, 4 dawn 'G' clamps and a 9" bosch grinder all up a spent $190 inc. the compressori was wrapped!
so enough about the tools back to the car.
bonnet stripped back to bare metal because there was a nasty clear coat underneath that was giving me grief. the more i sanded the more it would just chip of and give me jagged edges.
sand
strip
clean
rust sealer/converter
mkII front apron only had a mkI on the car when i bought it
also picked up some spare guards off steve yesturday, top bloke. they're pretty shabby but it'll be good to have the spares.
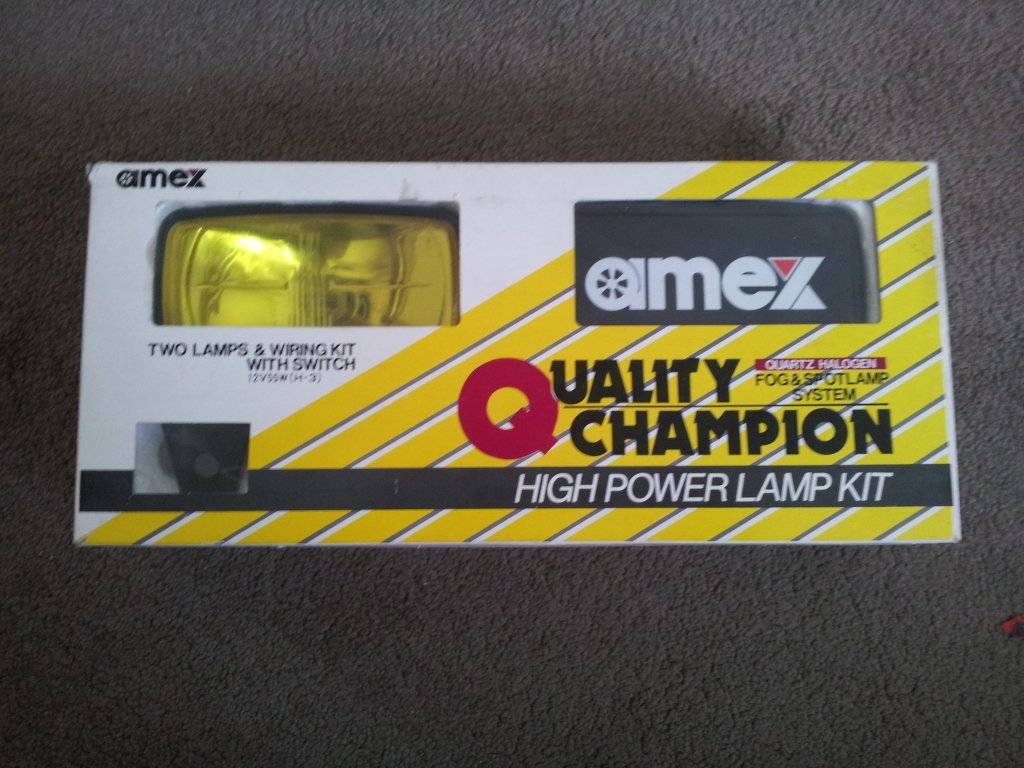
and these just arrived from japan as i am typing this
nissan s12 silvia key blank
and these awesome period correct new old stock fog lights with covers made by amex japan
just waiting for the sealer/converted to dry and i'll go get some paint mixed up then i get to turn the garage into a paint booth
so more work to report, im heading overseas for a week in a few days so im trying to squeeze as much progress as i can.
i started work on the panel below the grille yesterday. as with just about every one i've ever seen it had some damage on it. maybe its because they are really fragile...? who knows. on face value it looked to be in excellent condition so i just thought i's sand it and be done with it. but as i began to sand away just like the bonnet underneath there was some previous repairs and some bog. so out came the stripper and it was back to bare metal again. under the bog on one side i found rust. so out came the welder. now some dickhead left the argon gas on last time he used his welder so it was all gone! a whole ****ing tank! so trying to repair a small rust spot was made really difficult with having to build up chunks of shitty welds to give me enough material to work with.
but in the end it worked well enough.
i had to use the same method on another spot. it was really thin so a trick i learned was to clamp a piece of aluminium to the underside of the sheet metal to act as a heat sink to stop from blowing holes from excess heat. works well
next was the kinks in the side from the piece being bent then bent back to shape. so u get a stretched edge. to fix this i got out my map gas torch and heated the area till it was cherry red then taped it flat with a dolly underneath. then heated it again and cooled it rapidly with a wet rag to make the metal shrink back again. im really getting the hang of the panel beating
few before and afters
if u want to do this type of thing u wanna have a heap of different dolly's to work with. i've bought a few, made a few, modified them, you can never have too many.
next was to give it a through clean and then rust seal then prime
flat as
and in other news i just bought yet another set of old period correct wheels. and these are some really interesting ones. i bought them off ebay with no specs on them other than that they would fit. datsuns, ae86 etc. etc. i liked the look and by the picture I could kind of tell that they had some decent dish and offset so I made a bid and won them at $150
once i got them home for a good inspection they turned out to be better that i imagined. really awesome specs.
front: 15 x 7 0 offset
rear: 15 x 8 -4 offset
so heres some pics. really odd wheels. dragway brand, made in Brazil they are a 2 piece design with chrome plated steel barrels and 3 spoke alloy centres.
enjoy!

give the outers a clean, paint the inners red. they look pretty close to A3A's. Awesome buy!
Originally Posted by Jdm-Mcc

 Posting Permissions