Page 1 of 11 1 2 3 4 5 6 7 8 9 10 ... LastLast
Results 1 to 10 of 106

Thread: Drift Coupe Re-Build

  1. #1
    Veteran Dom86's Avatar
    Join Date
    Dec 2008
    Name
    Dom
    State
    WA
    Location
    Balga
    Country
    Australia
    Posts
    1,052

    Default Drift Coupe Re-Build

    I'd just started my build thread on the old forum when it changed.
    So here we go again....

    I originally bought an ADM rolling shell to build into a street/track car. But i really wanted a coupe.
    I went to see Ben from KYP ( ) who imports cars and parts, because i knew he was due for a trip to Japan soon. I asked him to keep a look out for one that was suitable for drift. Sure enough, a week into his trip he called to tell me he found what i wanted ready to drift.
    My coupe started life as a Trueno.
    But i like my coupes Levin, and once i had her, i did a front end swap with my ADM shell.
    So this is what i learned to drift in.....

    All sticked up

    It came with a 4agze, run by a HKS f-con ecu (totally useless because you cant tune them in Aus, trust me i tried). It also came with a disc diff with TRD 2way center, Front and rear coil overs and cusco stut braces. Funnily enough, no sway bars.
    So installed some TRD items and some new front TRD shocks, cos one was flogged out, and sent her for a major check over and service.
    Before i went drifting, i removed what little interior was left, as well as the sound deadening, and removed the quarter glass and replaced them with perspex items i made using sheets from Bunnings.
    I drifted it like this for about a year, until i new it was time for MORE POWER!
    and so the build begins......
    The Track Car Build: Indigo
    The Street Car Build: Street Build
    A Heap Of For Sale: The Heap

  2. #2
    Veteran Dom86's Avatar
    Join Date
    Dec 2008
    Name
    Dom
    State
    WA
    Location
    Balga
    Country
    Australia
    Posts
    1,052

    Default

    First up was the strip-down and clean because i wanted to paint it white inside and underneath. This makes the car easier to work on, especially at night.I also removed any unnecessary tags and other dead weight.
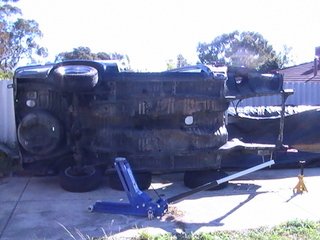
    I'm a ferm believer that light wieghtening is the cheapest and best starting point of power.


    Never underestimate the power of light wieght. I lifted this on its side by my self. I'm BLOODY HUGE!!

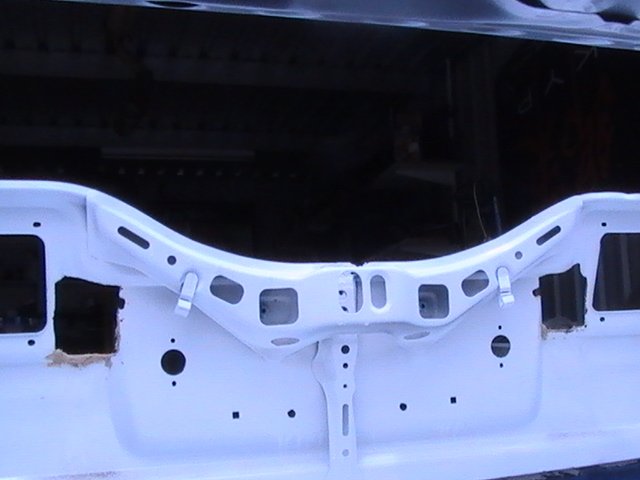
    Next, back into the garage for primer.
    But before the primer i did a little spot welding around the front shock towers and engine bay. I also cut out and welded most of the rust. There were a few bad spots, lower door seals and around the door hinges.

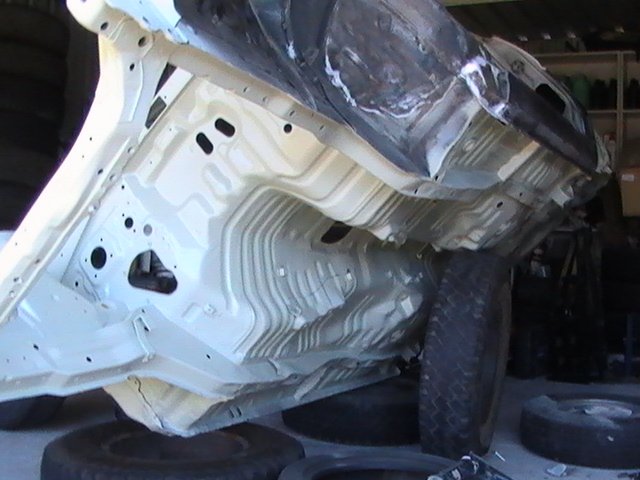
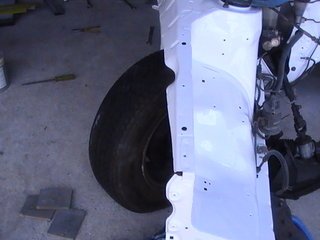
    I had to roll her from side to side to get everything under primer. I primered the engine bay also.

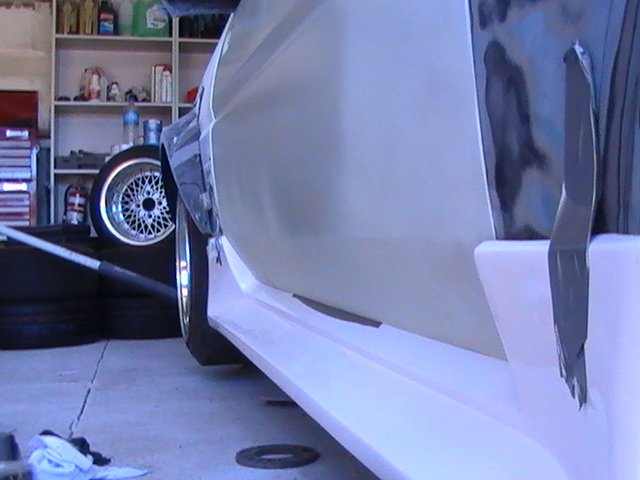
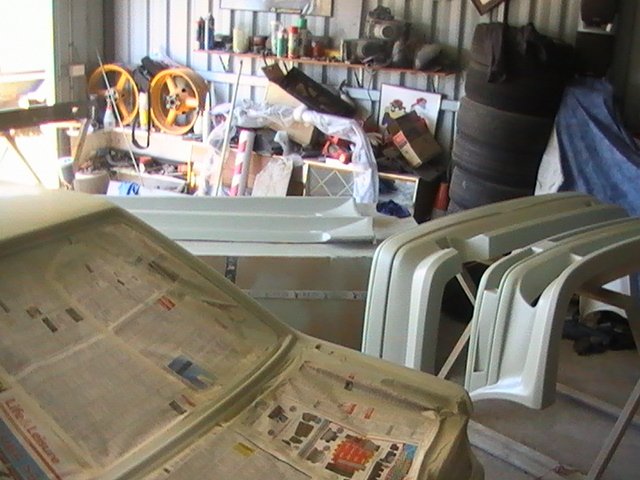
    Now after a quick scuff up, using a sanding sponge, on went the paint. I used a commercial white paint cos it's a little thicker and tougher. Hopefully wont chip so easy.


    ....and the engine bay the next day.

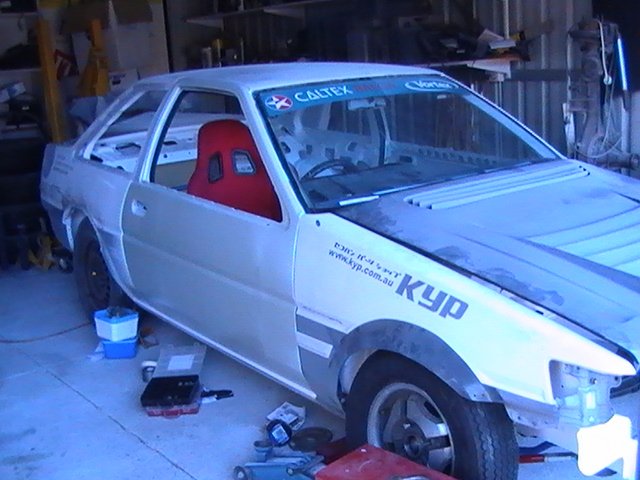
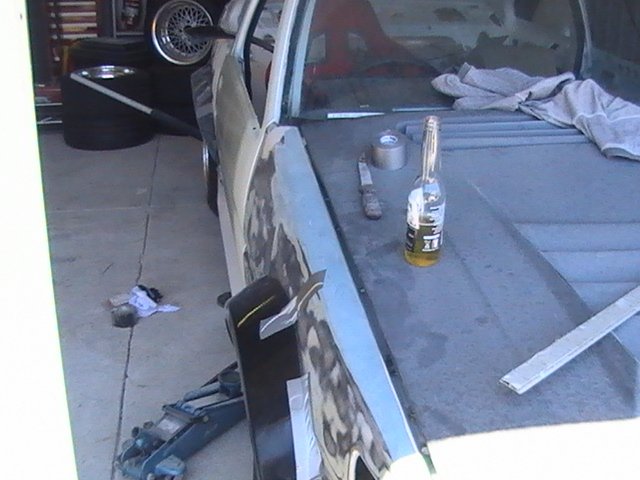
    ...after i started putting it back together.

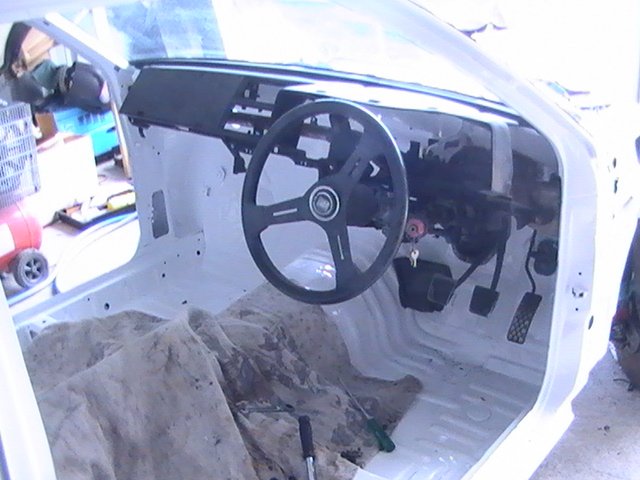
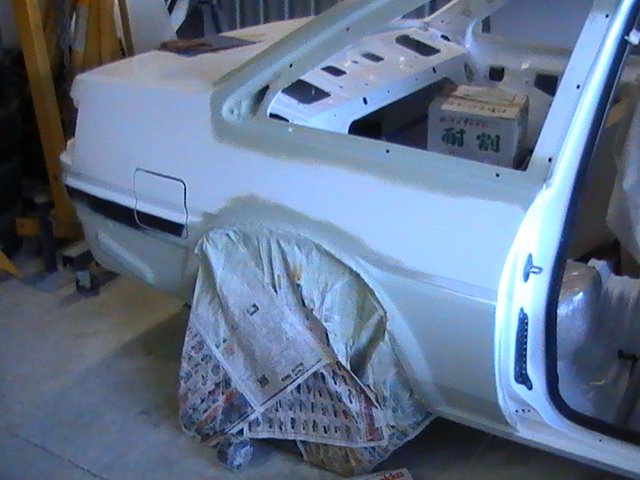
    ....and couple of days after that, i painted the inside, and the inside of the boot.

    ....once again, a pic after i'd started putting bits on.

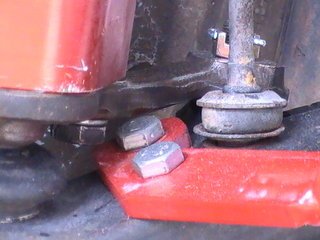
    Next up was to get her rolling again. So on went the x-member and suspension, and anything else that could go on without interfering with the rest of the build.

    Note: The sway bar mounts and what little bushes were left, have been changed for new items. Pics to come.
    Also, the S series diff is just so i can move. It will be replaced with a F series once i find one

    I'm a little worried about clearance issues here, but I am optimistic that it wont be a problem once the motor is in as the suspension should level out enough


    Got lock?? I do

    Achieved using AJPS lock spacer and power steering arms.

    It was around this time i ordered my body kit.....
    Last edited by Dom86; 25th January 2009 at 06:26 PM.
    The Track Car Build: Indigo
    The Street Car Build: Street Build
    A Heap Of For Sale: The Heap

  3. #3
    Veteran Dom86's Avatar
    Join Date
    Dec 2008
    Name
    Dom
    State
    WA
    Location
    Balga
    Country
    Australia
    Posts
    1,052

    Default

    Almost time to paint the outside. So on with the doors and fenders.

    You can see i've cut the radiator support out. This is because I'm going for a V-mount with custom radiator support. The bonnet was put on for motivational purposes. Starting to look mean....

    Before the doors went on, I did a little cutting. OK a lot!
    Using a hole saw and grinder, this is the end result after a slap of paint.
    [IMG]http:

    I left the divers side intrusion bar in for added safety, says the drifter I'm really happy with the way these turned out. They are remarkably light. The passenger side is roughly 5kg's, the drivers door is about 10kg's cos of the intrusion bar.
    Note: Check out my drift dash. Also a vary light weight item. A standard dash, striped of its liner and the ends cut off to allow for the roll cage.

    And in true 'me' fashion, I remembered about a little taillight modifying I needed to do before painting.
    The objective was to go from this .................................................. ........................to this. "Sexy Time"!!!


    So a few holes needed to be cut so the new lights and center garnish would fit.


    Some bogging was required as the new garnish is shorter then the mounting space.

    ...bog, test fit, bog, test fit, bog test fit.......

    ......then primer.

    Magic!!!!!!!

    Then my body kit arrived....
    I chose the Origin "stylish" kit, which i got sent to me from Savana Motorsport in SA. Time for more Motivation to keep me going....
    CORONA is a must.....
    Note: I've cut front and rear guards to accommodate/clear the larger wheels. Hope its enough... Also welded the aerial hole up in the fender.
    Check out how much room there is in the rear CBY flare to be filled. The F series diff should help this heaps, and if need be, some spacers.
    The Track Car Build: Indigo
    The Street Car Build: Street Build
    A Heap Of For Sale: The Heap

  4. #4
    todd
    Guest

    Default

    HOLY BOLT-ONS BATMAN

    this is going to look gooooood!
    what happening in the engine department dom? sticking with the gze? orrrrrrr.....

  5. #5
    Veteran Wally's Avatar
    Join Date
    Dec 2008
    Name
    Chris
    State
    NSW
    Location
    Sydney
    Country
    Australia
    Posts
    1,938

    Default

    fuck yeah! looks effin' sweet champ!
    1984 JDM Zenki Trueno GT-Apex Hatch
    4AGE 16V
    +Quads, HKS 264 cams, Microtech LT10s, TRD gearset gearbox, TRD2WAY LSD, fun!

    FOR SALE: JDM 4AG PACKAGE+ITEMS (ENGINE/GBOX/EXHAUST/ECU/SHIT)

    http://www.ae86drivingclub.com.au/fo...ad.php?p=15205

  6. #6
    Veteran Dom86's Avatar
    Join Date
    Dec 2008
    Name
    Dom
    State
    WA
    Location
    Balga
    Country
    Australia
    Posts
    1,052

    Default

    Back to work and i need to prep the body and body kit for paint.
    Because the body kit is an original Origin kit it needed vary little prep, so it was just scrub up with a sanding sponge and some primer just to make sure the paint sticks.

    The CBY's were a different story. They are a copy and needed some time to get ready for primer. The gel coat had lots of diverts that needed bogging.

    So I've made the doors as straight as i could be arsed, as well as the rest of the body, and applied the primer. Then rubbed it back till it's as smooth as a baby butt, with a few dimples. Its not perfect, not that it matters because of what happens when I'm painting....

    I've started masking her up getting ready for paint the next day.....

    Its paint day. I've finished masking-up the car, and organized everything into my garage as best i could with the little space i had. I wanted to paint everything in one hit. Two reasons for this...
    1. I needed to have it done (or so i thought) before the X-mas break was over, and it was the last weekend. It was supposed to go to KYP for the engine in early January.
    and 2. You can have a noticeable color change from the same tin of paint applied at different times because of the mix.
    In retrospect, i should have painted the car first and the body kit later. And its just a drift car.


    So the car is masked and prep soled ready to paint.
    I've used 2pac paint in the color 'Morpheus'. Yes the same color as that Brett guy with the cut railed extremely lowered hatch which was the center of the "is this the hottest hachi in Australia?" thread from the old forum.
    No i did not copy him (who gives a shit anyway?). Actually my brother painted his Morpheus at the same time as Brett (Hot car by the way) and we are team mates, and I couldn't decide on a definite color, so it made sense.
    Anyway, this is the process for applying Morpheus with paint mixed and car ready.
    1. apply a layer of black (which I'm spewing about not getting pics of). This gives the end result depth of color and an even finish. Otherwise you get a patchy finish, light and dark spots.
    2. apply 3 or 4 coats of morpheus.
    3. apply 3 to 4 coats of clear.
    Sound like a simple process. Little did i consider the amount of time this would require.

    Note: It is now dark. What happens at night when lights are on?

    The first coat of clear .................................................. ..............................................my bro helping out with lighting.
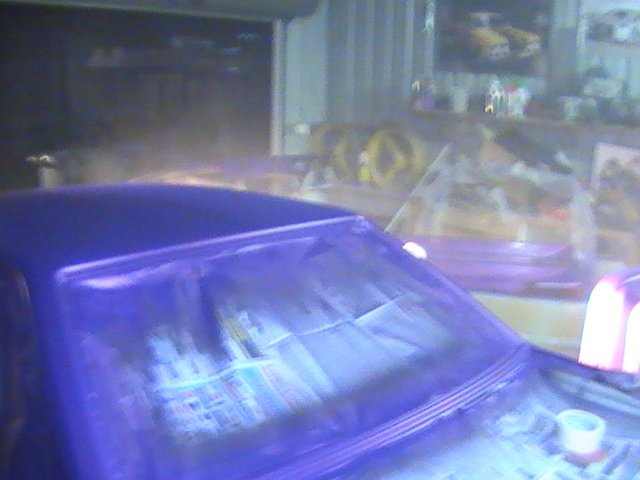
    Misty after a coat of clear.
    All up the process took a marathon 13 hours.
    The drams started about the second coat of Morpheus when I bumped a stack of rims (refer to pics above), and they fell on me and the body kit, leaving a few marks in sections of the kit. I continued on.
    Eventually it got dark around the 4th coat of base Morpheus paint and the BUGS came out to play
    I didn't really notice them until i was spraying clear onto the front bar when I saw a 'midgy' fall into the path of the clear and get covered, stuck. And there was nothing I could do about it.
    I looked up to see the light covered in them. Huge fail. I looked over the rest of the car and saw the same thing but worse. The ones that had landed on the paint after a layer of paint were trying to escape, walking through the paint leaving teeny tiny foot prints
    I finished off the remaining coats of clear as best i could, and left there feeling quite dejected. It felt like a huge waste of time.......
    The Track Car Build: Indigo
    The Street Car Build: Street Build
    A Heap Of For Sale: The Heap

  7. #7
    Veteran Dom86's Avatar
    Join Date
    Dec 2008
    Name
    Dom
    State
    WA
    Location
    Balga
    Country
    Australia
    Posts
    1,052

    Default

    LOL.
    Not sure anymore. SR seems to be a better option...
    The Track Car Build: Indigo
    The Street Car Build: Street Build
    A Heap Of For Sale: The Heap

  8. #8
    Veteran Dom86's Avatar
    Join Date
    Dec 2008
    Name
    Dom
    State
    WA
    Location
    Balga
    Country
    Australia
    Posts
    1,052

    Default

    Cheers Wally!
    The Track Car Build: Indigo
    The Street Car Build: Street Build
    A Heap Of For Sale: The Heap

  9. #9
    Veteran Beau's Avatar
    Join Date
    Dec 2008
    Name
    Beau
    State
    NSW
    Location
    Other
    Country
    Australia
    Posts
    1,564

    Default

    looking very very tuff! and great work for doing some much yourself!

    Not many of us left..

  10. #10
    Veteran Dom86's Avatar
    Join Date
    Dec 2008
    Name
    Dom
    State
    WA
    Location
    Balga
    Country
    Australia
    Posts
    1,052

    Default

    Cheers.
    The mechanical stuff i don't mind too much, but the panel beating and spray painting I hope to avoid if I can in future.
    Not that that will happen
    The Track Car Build: Indigo
    The Street Car Build: Street Build
    A Heap Of For Sale: The Heap

Page 1 of 11 1 2 3 4 5 6 7 8 9 10 ... LastLast

Similar Threads

  1. V8 Drift Build
    By PRIMRK in forum AE86 Owners Forums
    Replies: 238
    Last Post: 25th August 2013, 10:52 AM
  2. KE70 Drift/Track Car Build.
    By luke641 in forum KE70 / AE71 Owners Forums
    Replies: 38
    Last Post: 19th March 2012, 06:50 PM
  3. Buddy Parts AE86 Coupe, 2 week ground up build!
    By buddyparts in forum AE86 Owners Forums
    Replies: 199
    Last Post: 8th February 2010, 04:26 PM
  4. In the build-AE86 Drift Monster
    By wobeatschickens in forum AE86 Owners Forums
    Replies: 16
    Last Post: 23rd February 2008, 12:36 AM
  5. drift build
    By napower in forum AE86 Owners Forums
    Replies: 6
    Last Post: 23rd April 2007, 09:36 PM

Posting Permissions

  • You may not post new threads
  • You may not post replies
  • You may not post attachments
  • You may not edit your posts
  •