Reply With Quote
Best!
Dog!
Ever!


nice work!
ive got a 100% rust free hatch on my car...sitting in the sun and rain in a farm for over 3 years and still no rust...then i added a duck wing...im sure NOW rust will be comming haha
good shit, as expected from a apprentice spray painter *cough cough @ evil86*
dose

Best!
Dog!
Ever!
RIP Carly - a smile to light the world.
06/07/2011

Rice86 - haha did i miss something boys?trust me, a lot of effort and hard work really pays off when you put so much into your car. especially when it's done from ground up. i read your build thread, i'm assuming you know what i mean by ground up hey?
fantapants - i'm guessing you're referring to my boxer in the photo? yeah i had to let her go a few years back so i don't have her anymore
ive had 2 boxers... best dog eversorry for the loss man.
car looks goods mate
RIP Carly - a smile to light the world.
06/07/2011
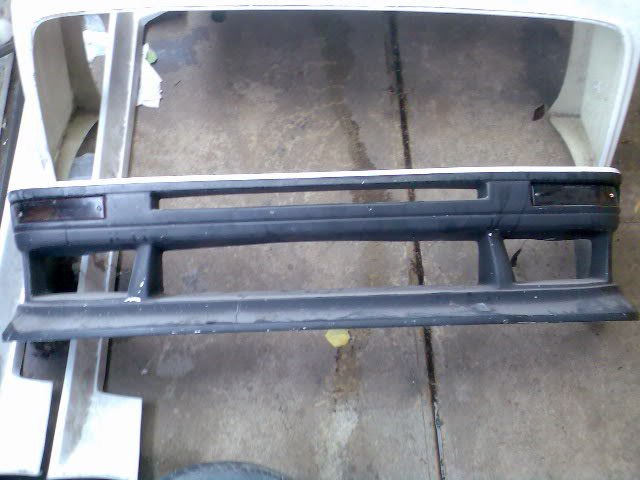
I scored myself an ok condition vertex style bodykit off a guy on carsales, who had sold his 86 but had it left over. I think he is also a member on either one of the forums quoccy i think, not quite sure?
So the condition of the kit wasn't in the best state but that was easily fixed when i took it to trade school.
It's been that long that i think i used 80 or 120 grit to sand down the front, because the black paint was that layered on.
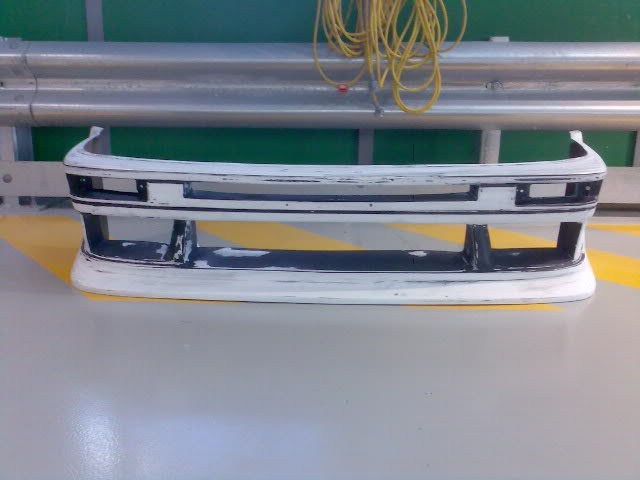
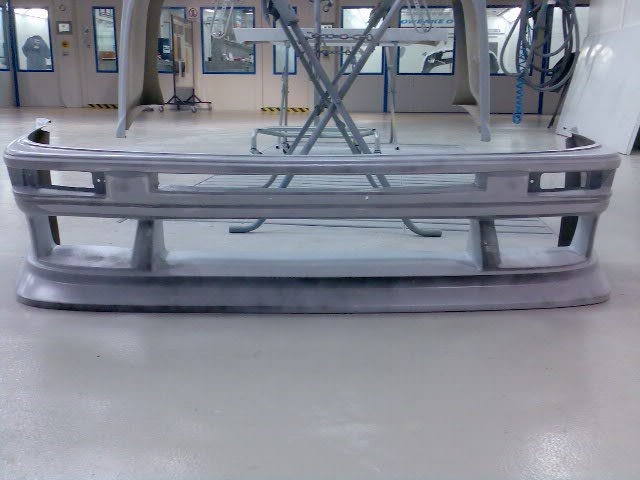
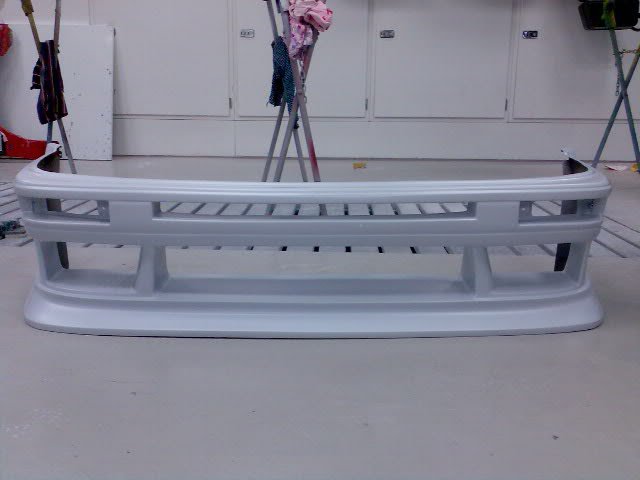
After sanding it down i started high filling, guide coating, left it to dry over night then sanded it back down with 320 grit. Then i gave it 2 coats of high fill again.
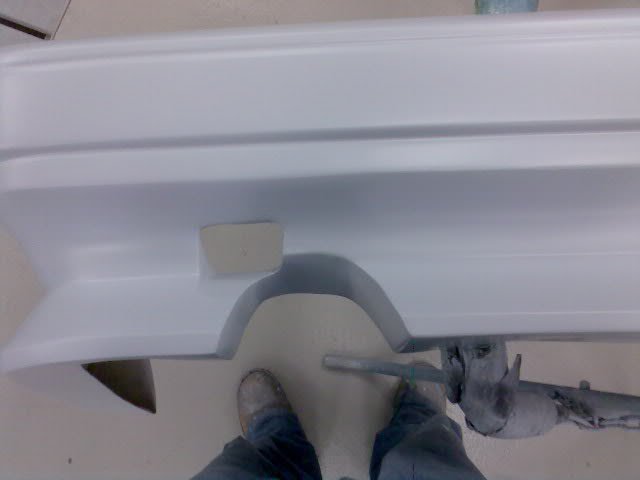
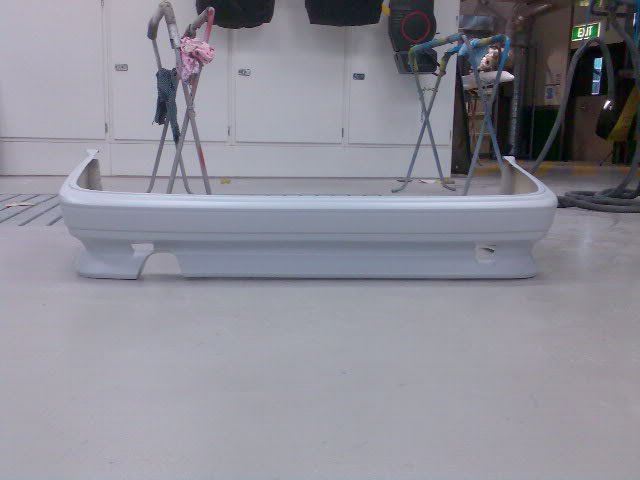
Done with the front bar and looking good as new.
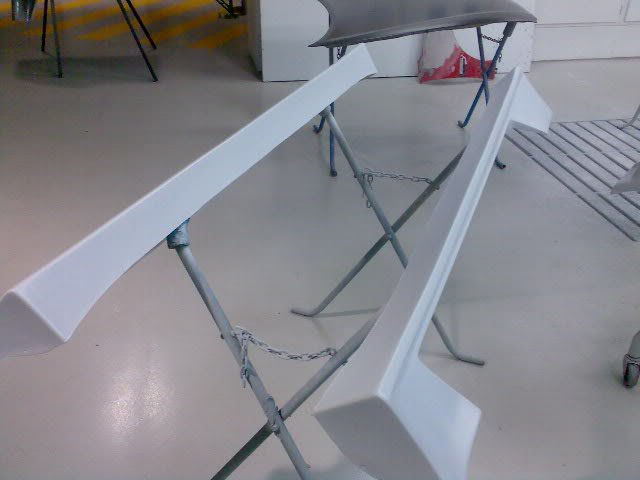
Sideskirts finished.
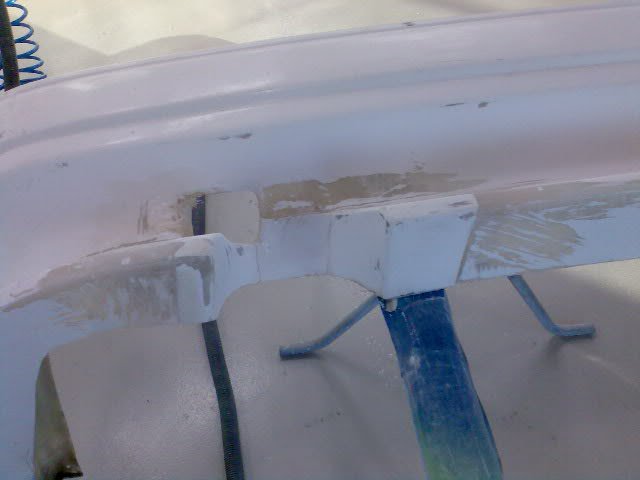
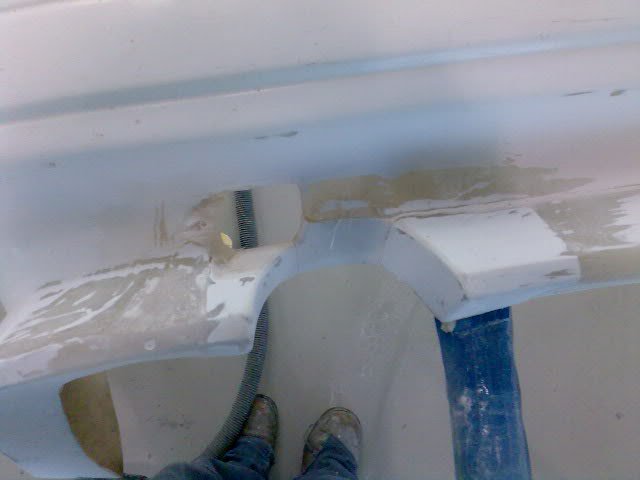
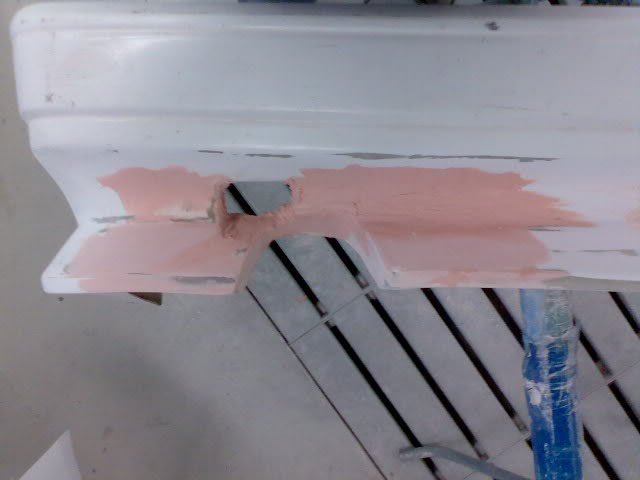
The rear bar was definitely a big challenge because when i went to pick the bodykit up, he gave me 3 pieces he had cut out for the muffler tip to come out. I had to mold the pieces back into the right spots and made sure it was perfect.
.. just like solving a jigsaw puzzlea pain in the arse but i got it done
Once the pieces were back in the right places, i started putting fiberglass sheets to hold the pieces together. Then after i used fiberglass filler to get it smooth and back to the original form. Lastly, plain filler was added to get it properly shaped.
WOLAHH i finished it!!!
Last edited by ATESIX; 4th August 2010 at 02:17 PM.

hey mate cars looking good , just wondering where abouts did you take the car to get the rust fixed , im looking at getting some of the bad rust fixed up on my car.
thanks mate
im in the north, yea will have a look around , mines pretty bad as its hole on the A pillar which is getting pretty big.

is that the new automotive tafe center in melbourne? that shits squeaky clean.
and
shame on you for putting freshly painted parts on the ground....are you part panel beater by any chance?
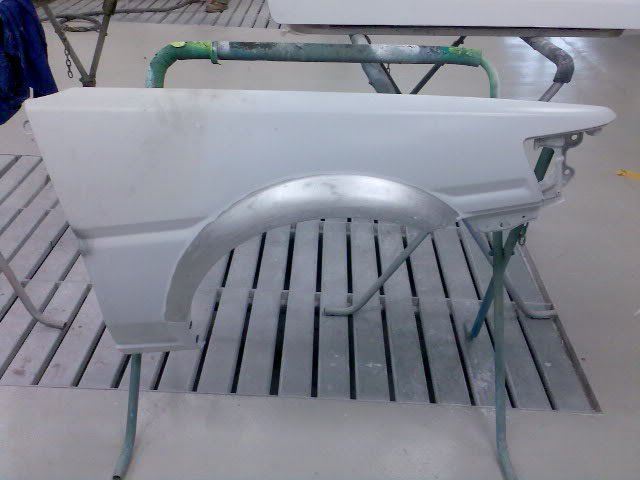
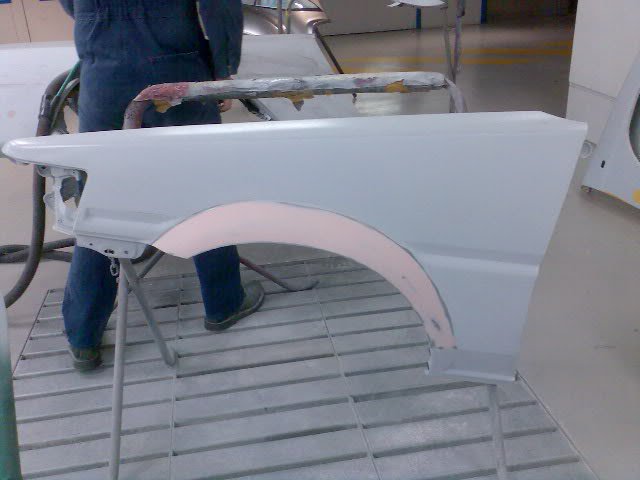
I took my front guards to trade school during my 2nd year to flare it out and i got the shape i wanted.
I added the filler onto the shape of the flares.
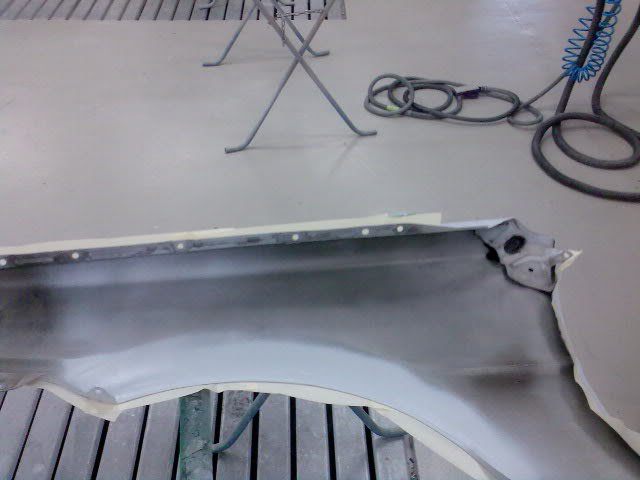
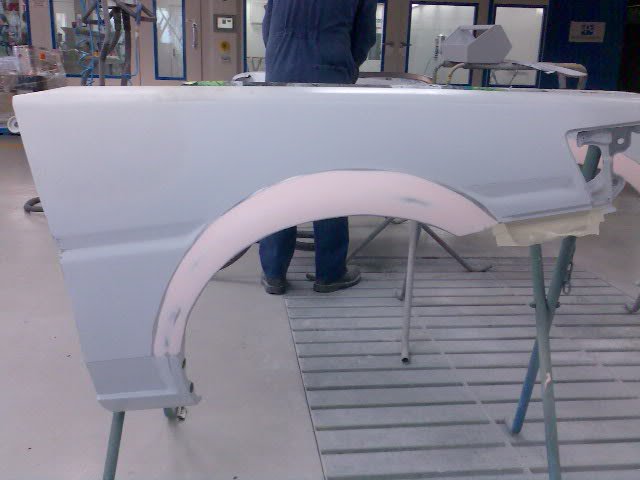
All dry and solid hard ready to sand down.
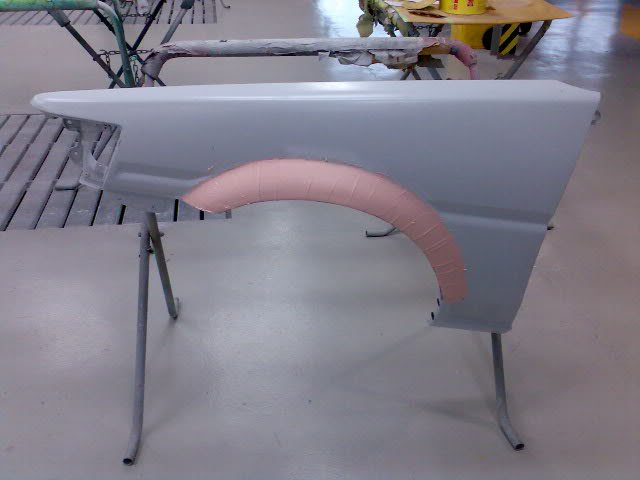
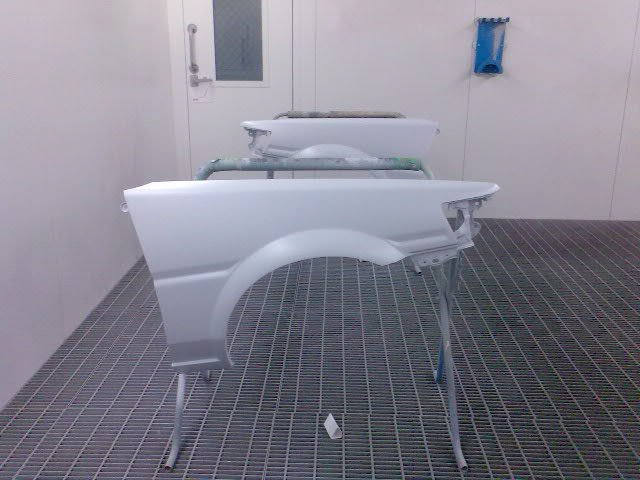
All done and high filled and happy with the results
 Posting Permissions